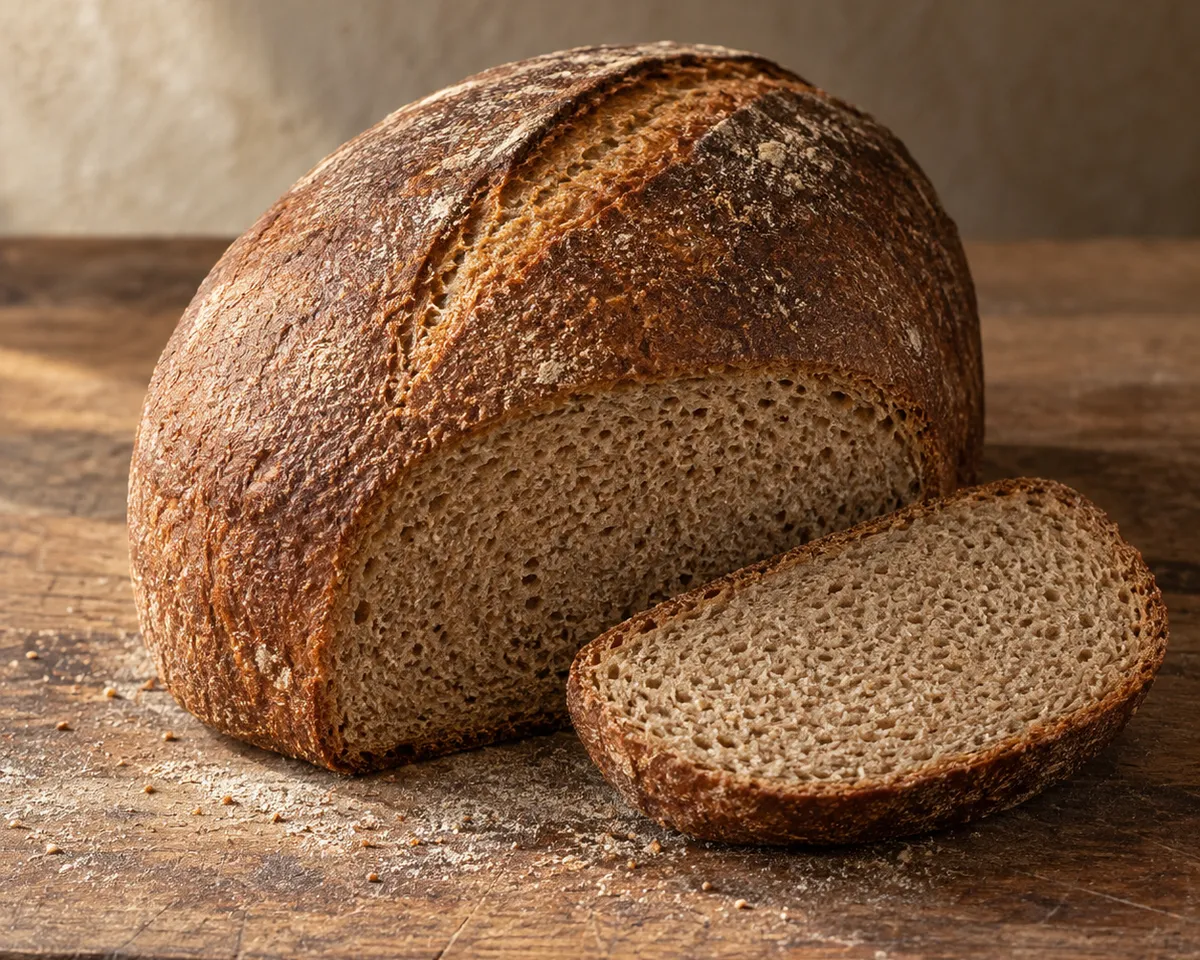
Pane di solina
Abruzzese sourdough country loaf of mountain wheat
Solina is the mountain wheat behind this Abruzzese loaf. It is a soft wheat, pale in the field but capable of a markedly dark, fragrant loaf once stone-ground. In the inland Abruzzo of the Marsica and the high Apennines, its toughness as a crop mattered as much as its flavor did at the table.
The traditional dough combines flour, water, lievito madre, and little salt. A good loaf is tall but compact, with a fine, regular crumb and a faintly bitter grain note beneath the crisp crust.
Solina has a gentler gluten structure than a strong American bread flour. Hydration and gentle folding build enough strength for the loaf to rise without losing its close-textured crumb.
Ingredients
For the loaf
- 600 gstone-ground Solina soft-wheat flour (see note)
- 375 g(1½ cups plus 1 tbsp)cool water, divided
- 100 gactive 100%-hydration sourdough starter maintained with Solina flour, refreshed and at or near its peak (see note)
- 10 g(about 1¾ tsp)fine sea salt
- rice flour or additional Solina flour, for the proofing basket
Kitchen notes
- Solina flour
- Solina is an Abruzzese soft-wheat flour, preferably stone-ground, not durum semolina and not a generic flour marketed as an “ancient grain.” It is usually sold through specialty Italian grain mills and online sellers. A strong U.S. bread flour will make bread, but it will not make pane di solina; do not treat it as an equivalent substitution.
- 100%-hydration Solina starter
- Maintain the starter with equal weights Solina flour and water, and use it after feeding, when it has risen substantially and smells cleanly tangy. This liquid starter is a home adaptation of the traditional lievito madre.
- Dutch oven
- Pane di solina is traditionally baked in a wood-fired oven, often as a much larger 1–3 kg loaf. A preheated covered pot traps steam for the early rise and holds heat to set the crust; it gives a different bake from the traditional oven.
Method
Hydrate the flour
- Reserve 35 g (about 2 tbsp) of the water. Mix the Solina flour with the remaining 340 g water until no dry flour remains. Cover and leave for 30 minutes. This short rest lets the relatively gentle Solina gluten organize before the starter and salt go in; the dough should feel soft and shaggy, not firm.
Mix and build strength gently
- Add the active starter, salt, and reserved water. Pinch and fold the dough until the additions are evenly distributed, then rest 20 minutes. Over the next 2 hours, give the dough three sets of folds at 40-minute intervals: lift one side until it resists, fold it across the center, and turn the bowl a quarter turn; repeat until all four sides have been folded. Keep the movements deliberate but light. Solina dough should become smoother and more elastic, not aggressively tight.
Let it rise and shape
- Cover and let the dough rise at a warm room temperature until expanded by about half, airy at the edges, and still able to hold a rounded shape, usually 3–5 hours longer. The time depends on your starter and room, so follow the dough rather than the clock. Turn it onto a lightly floured surface, fold the edges to the center, then turn it seam-side down and draw it gently toward you to tighten the surface. Set it seam-side up in a well-floured proofing basket or towel-lined bowl.
Proof and heat the pot
- Cover the loaf and proof until it springs back slowly from a lightly floured fingertip, about 1½–2½ hours. Meanwhile, place a 5–6 L (5–6 qt) Dutch oven with its lid in the oven and heat to 475°F (245°C) for at least 40 minutes. The loaf should be visibly livelier at this point but not doubled and slack; a weak-wheat dough that overproofs will spread instead of rising.
Bake until dark and dry
- Turn the loaf seam-side down onto parchment, brush off excess flour, and make one confident 1 cm (½-inch) deep slash across the top. Lower it into the hot pot, cover, and bake for 25 minutes. Remove the lid, lower the oven to 425°F (220°C), and bake until the crust is chestnut brown and the loaf sounds hollow when tapped, 25–30 minutes more. If you use an instant-read thermometer, the center should be at least 205°F (96°C). Cool on a rack for at least 2 hours before slicing; the compact crumb needs that time to finish setting.